Ok, I've sort of hit a rythym with the planking operations. I've learned a few things as
I work and continue to discover new tricks and helpful techniques. The shaping and fastening process is not one that I can speed up. Rather I've settled into a pace that allows me to install 1 plank per day. It goes something like this:
Day 1: Spile and cut out planks (mirror image for each side)
Day 2: Fine tune the fit of 1 plank, cut in the rolling bevel, gains, and scarfe joint. Glue that plank in place.
Day 3: Fine tune the fit of the 2nd plank. Spile and cut out the next row of planks.
Day 4: Fine tune and install plank 3, etc...
As you can see, once the first day is out of the way, I can glue 1 per day and make sure the next one is ready for the next day.
What have I found the most challenging?
Well going into the planking, my worry was with cutting the scarfe joints to fit. As it turns out, getting a good fit is not that challenging when you use the spiling method that I will show. The hardest part was just keeping the tools sharp as this hard plywood does a number on the plane iron and chisels. In terms of fit, the hardest parts were preparing the previous plank bevel where the plank will overlap, and cutting the gains as you will see in the pictures.
 |
| STEP 1. The first job is planing in a rolling bevel where the planks overlap. The amount of overlap is 3/4" so a line is marked 3/4" in from the edge. The bevel is correct when the plank will sit flat on the lap area. |
 |
| Testing the lap bevel. When the bottom corner of the ruler is sitting at the next plank edge it should sit flat on the bevel right up to the lap line as seen here. The bevel cannot be curved or inconsistent. |
 |
| The back and front end of the previous planks have already been tapered down to a knife edge. This is called a gain and will allow the planks to appear flush at the ends of the boats. Confusing? More explanation will follow. |
 |
| STEP 2. I lay the spiling batten onto the bevel I just planed in a prepare to mark out the next plank. |
 |
| Here's a little trick I thought I would try. I simply tacked pointed sticks to the spiling batten so they would hit the top, bottom, and middle of the plank end. The three points give me enough information to transfer a curve onto the plank. It ended up working very well. |
 |
| Here's how the spiling batten gets marked at each station. I've used it a few times so I colour coded the lines, this station is the green line. The two dashes are 2" in from the bottom edge and top edge of the plank to be. |
 |
| Then the spiling batten goes onto the plywood to recreate the shape of the plank. I measure out 2" at each station from the marks, tap in nails, bend a batten over the points, yada yada yada you've seen me do it already. |
 |
| STEP 3. Here I have two mirror image planks that I've cut out with a circular saw. This will make up the rear 2/3rds of the plank with another shorter one for the front. Now I use the belt sander to fine tune the edges down to the line. |
 |
| STEP 4. The ends of all the planks get a scarfe joint. I purposely made one part of the plank 5" too long for a 5" overlap. The scarfe joint is sanded in, tapering from 5" in down to a feather edge. |
 |
| STEP 5. Both ends of the planks will get a gain planed in. A gain is a complimentary bevel on both edges of mating planks so that the outer surfaces become flush. I start by marking a line 18" in from the end, then tracing a line along the edge from full thickness down to nothing. |
 |
| On the face, a lap line is marked in 3/4" from the edge... |
 |
| ...and the bevel tapers from no bevel down to a feather edge. |
 |
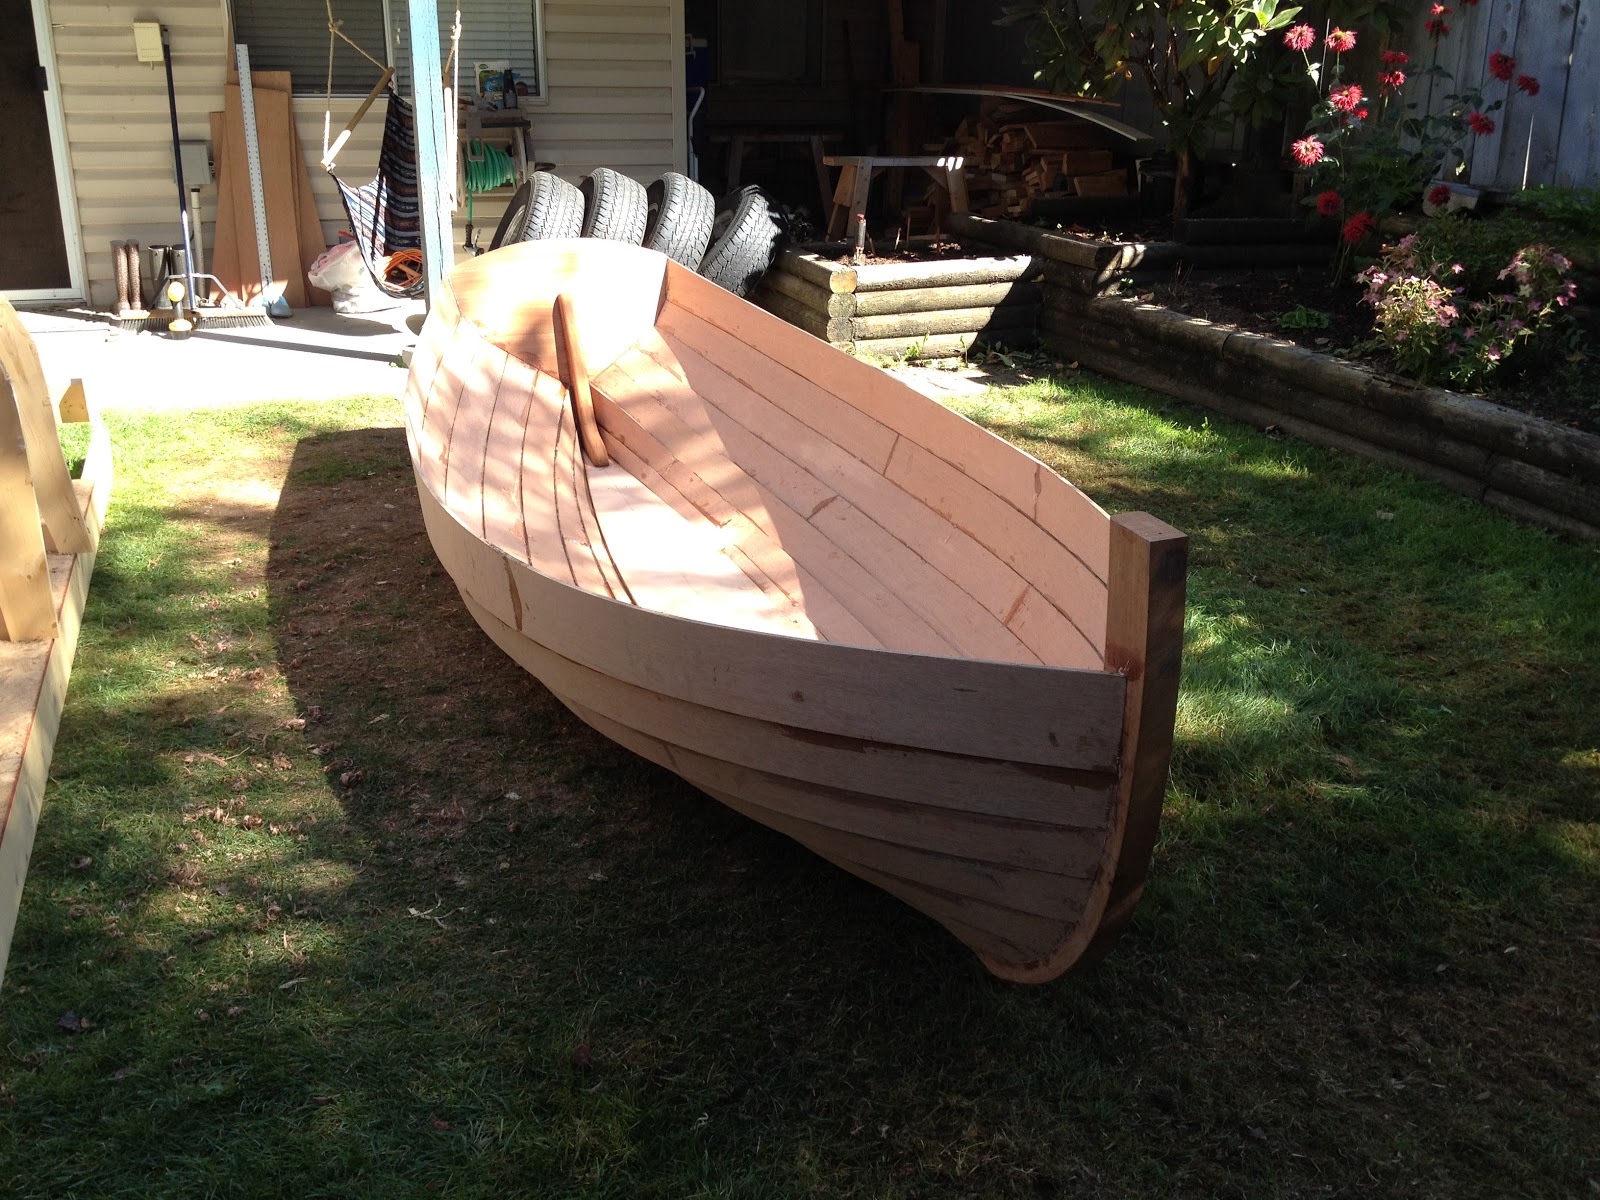
| STEP 6. The newly made plank is clamped into place to check the inboard and outboard fit. This one looks pretty good. |
 |
| If your still scratching your head over the gain, here's what it looks like. The new plank tapers down beautifully for a flush fit. |
 |
| Here's a great trick I learned from ducktrap woodworking for when those gains just down fit right. A 40grit sanding belt pulled taut and run through the joint will kiss off any high spots for a perfect fit. |
 |
| Checking the fit in the stem rabbet. You can see that a gain has already been planed in for the next row. And yes, I did have to touch up the rabbet as I went along but it was pretty easy. |
 |
| STEP 7. Finally, the plank gets glued. All gluing surfaces get a coat of regualar epoxy, no thickener added. This lets the epoxy soak into the wood for a good grab. |
 |
| Then I add some thickening agent to the epoxy so that I can slather a thicker amount to the lap area without it just dripping off. Plus, the epoxy will do a great job of filling any gaps in the fit. Not that I have any ;) |
 |
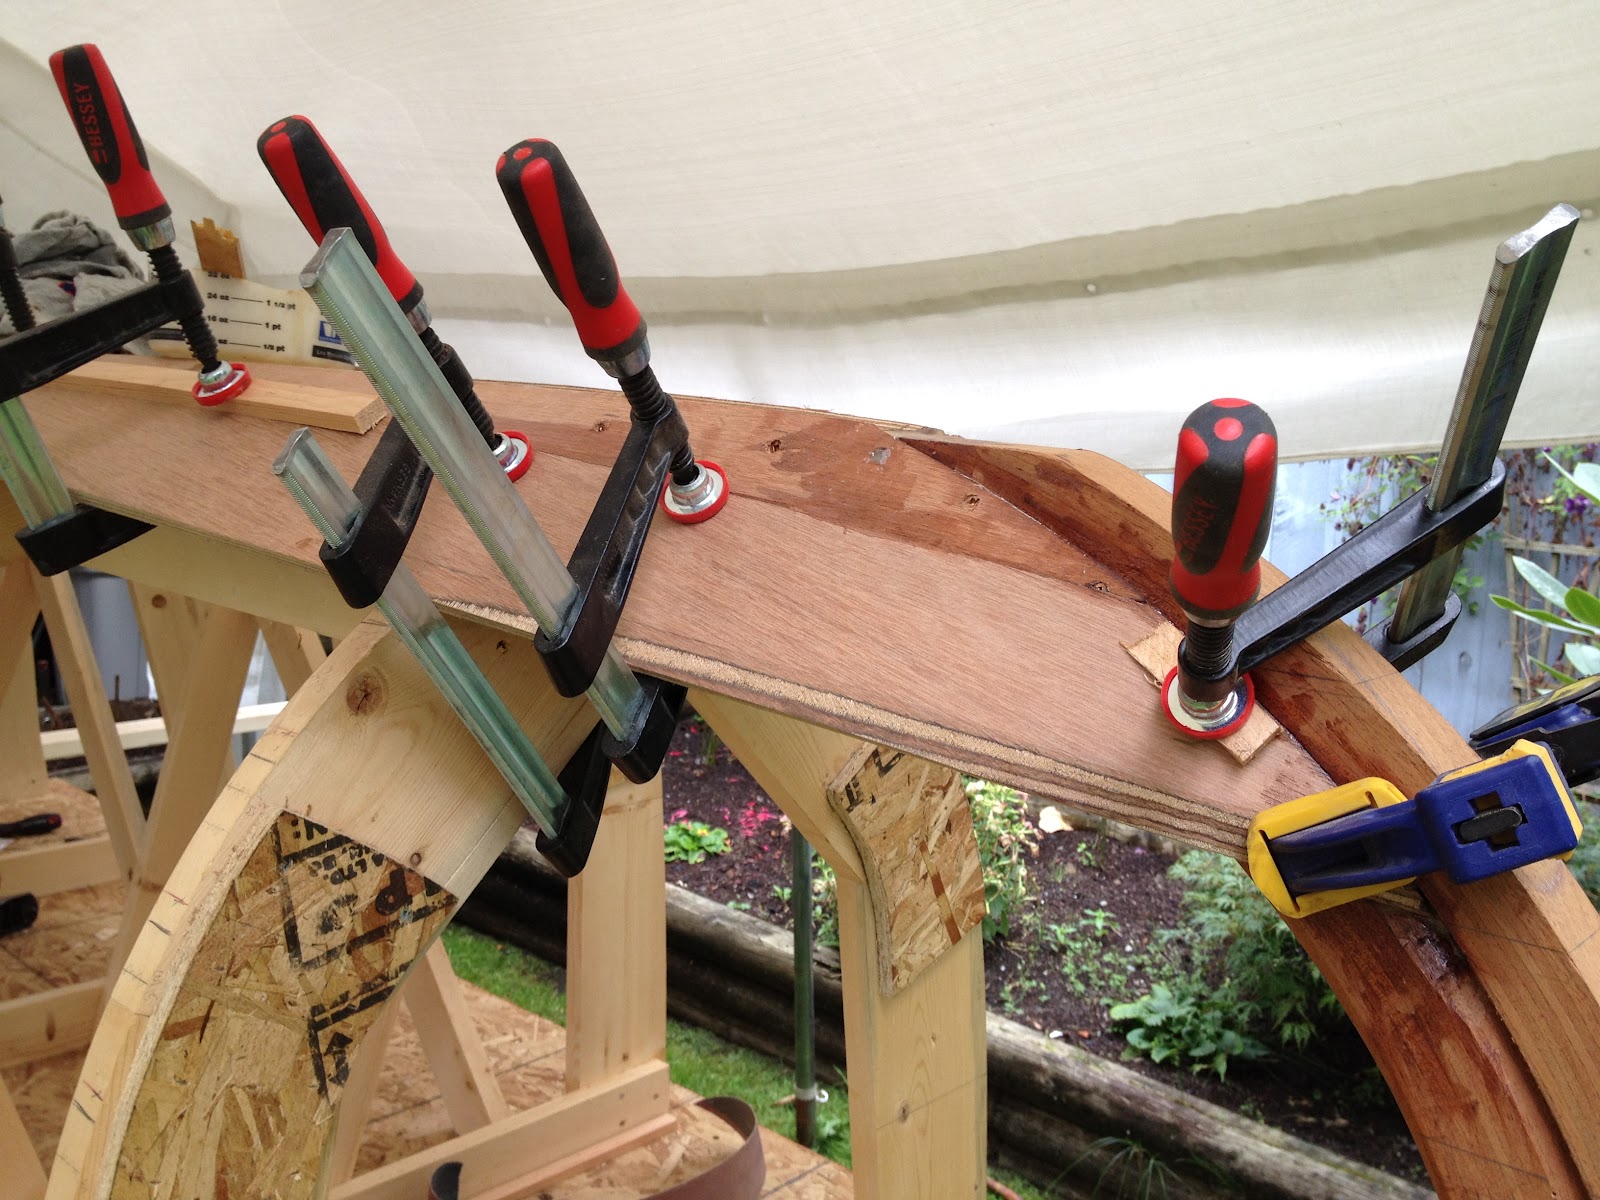
| And finally, the plank gets clamped in place with "F" clamps and backing sticks. |
 |
| The thickened epoxy squishes out as the plank draws tight. I tooled the epoxy squeeze out into a nice little fillet and called it a day. |
So that's a day in the boatbuilding life,
Life lesson for the kiddies out there: Don't play with epoxy without latex gloves. Don't ask me how I know.